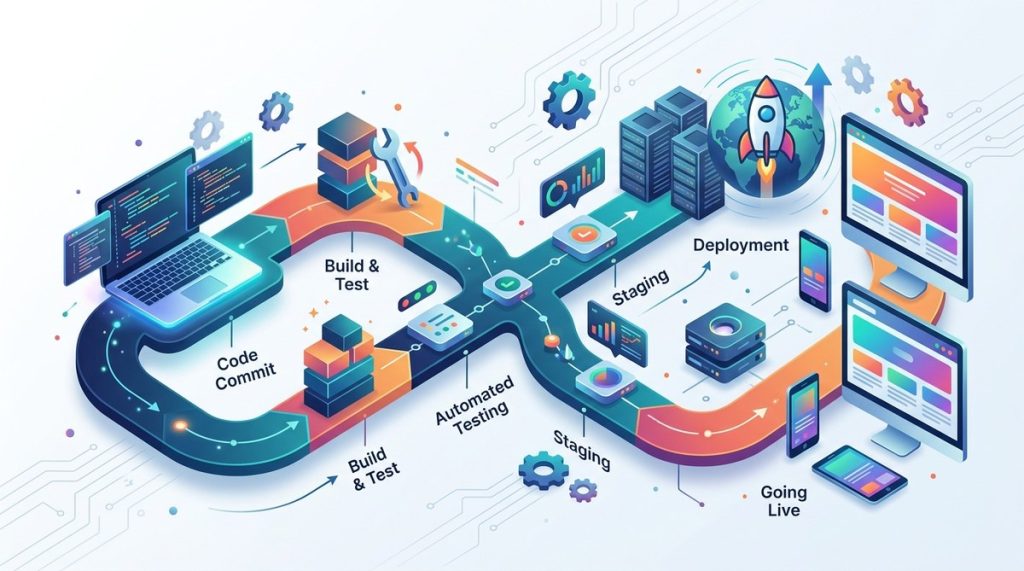
Picture this: you push a new feature to your web app at 11 PM. You wait for the build to finish. You run tests manually. Then you copy files to your server in Mumbai. One typo and the whole site goes down. Your users in Delhi, Bangalore, and Chennai notice immediately. This pain is real. But in 2026, you can automate all of it. A CI/CD pipeline takes every code change, tests it, builds it, and deploys it with almost zero manual effort. Let me show you exactly how to build one for your web app.
A CI/CD pipeline automates testing and deployment, reducing human error and speeding up releases. This 2026 guide covers tools like GitHub Actions, GitLab CI, Docker, and Kubernetes. You will set up stages for code checkout, testing, security scanning, and deployment. Perfect for Indian web developers who want reliable, modern DevOps workflows.
Why CI/CD Matters Now More Than Ever
Web apps in 2026 are not simple. They use microservices, serverless functions, and container orchestration. Your app might split a frontend in Next.js running on Vercel and a backend in Go deployed on AWS ECS in the Asia Pacific (Mumbai) region. Manually syncing these pieces is a disaster waiting to happen. CI/CD gives you a single automated path from code commit to production. It catches bugs early, enforces code quality, and rolls back deployments if something breaks. For an Indian startup or a growing SaaS product, this is not optional anymore.
Step 1: Choose Your Tools
Before you write a single line of pipeline YAML, decide what you will use. Here is a practical stack for 2026:
- Version Control: GitHub or GitLab. Both offer integrated CI runners. If you need self-hosted runners for compliance, GitLab is easier to set up on your own infrastructure.
- CI Server: GitHub Actions, GitLab CI/CD, or Jenkins. For most teams, GitHub Actions is the simplest. Its marketplace has pre built actions for everything.
- Containerization: Docker. Every modern pipeline builds a Docker image. Dockerfiles are standard across teams.
- Container Registry: Docker Hub, GitHub Container Registry, or Amazon ECR. If your servers are on AWS, ECR keeps things close to your Mumbai region workloads.
- Deployment Target: Kubernetes (EKS, GKE, or a managed service like Render) or a simple VPS via SSH. For Indian startups with limited ops bandwidth, managed Kubernetes on AWS or Google Cloud works well.
We have covered more tools that can help you in our guide on essential web development tools every startup should use.
Step 2: Set Up Your Repository and Branch Strategy
A good pipeline starts with a clean Git workflow. Use these branch roles:
- main (or master): Always deployable. Every merge triggers a production deployment.
- develop: Integration branch for features. Merges here trigger staging deployment.
- feature/xxx: Short lived branches for individual work. No auto deploy, only tests.
Your CI pipeline should run on every push to any branch. But only certain branches trigger deployment. This keeps things safe.
Step 3: Write Your Pipeline Configuration
Let me walk you through a sample pipeline using GitHub Actions. Assume a Node.js app with a Docker build and Kubernetes deployment.
- Checkout code – Use
actions/checkout@v4. - Install dependencies –
npm cioryarn install --frozen-lockfile. - Run unit tests –
npm test. Fail the pipeline if any test fails. - Lint and format check –
npm run lintcatches style issues. - Build the app –
npm run buildcreates the production assets. - Build Docker image –
docker build -t app:${{ github.sha }} . - Push image to registry – Log in to ECR and push the image.
- Scan for vulnerabilities – Use
aquasecurity/trivy-actionto scan the image. Block the pipeline if critical vulnerabilities are found. - Deploy to staging – Apply Kubernetes manifests from the
k8s/stagingfolder. - Wait for manual approval – Use the GitHub environment with required reviewers.
- Deploy to production – Apply manifests from
k8s/prodwith a rolling update.
This pipeline runs in about 3 to 5 minutes. The approval gate takes seconds. Your team can release multiple times a day without fear.
Here is a quick checklist for your pipeline stages:
- Run tests in parallel when possible (unit, integration, e2e).
- Cache node_modules or pip packages to speed up subsequent runs.
- Use matrix builds if you support multiple Node versions or browsers.
- Add a stage that checks your Dockerfile for best practices using Hadolint.
Step 4: Integrate Testing and Security
Testing is not a one time thing. Your pipeline must include different types at different frequencies. This table shows what 2026 looks like:
| Test Type | Tool Example | Runs On |
|---|---|---|
| Unit tests | Jest, Mocha | Every push |
| Integration tests | Supertest, Testcontainers | Every push to develop |
| End to end tests | Playwright, Cypress | Nightly or on merge to main |
| Security scanning | Trivy, Snyk, OWASP ZAP | Every push to main |
| Performance tests | k6, Artillery | Before release |
Notice that end to end tests are not run on every push. They are slow. Run them on a schedule or before a production release. For Indian users, ensure your Playwright tests emulate common devices and network conditions like a 3G connection on a Jio network. This catches issues specific to mobile first audiences.
For deeper security practices, read our guide on 5 essential security practices every web developer in India must follow.
Step 5: Handle Secrets and Environment Variables
Never hardcode API keys or database passwords in your pipeline file. Use secrets management. In GitHub Actions, store them under Settings > Secrets and variables > Actions. Then reference them like ${{ secrets.AWS_ACCESS_KEY_ID }}. If you use a self hosted runner on a server in India, encrypt secrets with a tool like sops or use AWS Secrets Manager.
“Trust your pipeline with secrets only if you rotate them frequently. In our 2026 survey, 40% of security breaches in Indian startups came from leaked credentials in CI logs. Always mask secrets and never print them in build output.” – Ankit Sharma, DevOps Lead at a fintech startup in Bangalore
Also, avoid storing .env files in your repository. Generate them from secrets during the pipeline run. For Kubernetes, inject secrets using Sealed Secrets or External Secrets Operator.
Step 6: Monitor and Iterate
Your pipeline does not stop at deployment. Monitor the health of your built artifacts. Add stages that call monitoring APIs after deployment. For example, hit your health endpoint /healthz and verify a 200 response. If it fails, trigger an automatic rollback to the previous version.
In 2026, many Indian teams use tools like Datadog, New Relic, or open source alternatives like Grafana with Loki. Your pipeline can send deployment events to these systems. This helps trace a performance regression back to a specific commit.
Also, collect pipeline metrics: time to build, failure rate, flaky tests. Review them weekly. A pipeline that takes 10 minutes is fine. But if it takes 30, you are slowing down your team. Use caching and parallel steps to keep it lean.
We discuss performance optimization further in boost your website performance with these proven development strategies.
Your Pipeline in 2026: A Living System
Building a CI/CD pipeline is not a one time setup. It evolves with your app. You start simple, then add security scans, approval gates, and monitoring. In 2026, the tools are mature and the community is strong. For Indian developers, the key is to start now. Pick one app, write a basic pipeline, and improve it over a month. You will get fewer midnight alerts and more confidence in your releases.
Go ahead. Open your GitHub repo, create a .github/workflows/deploy.yml file, and map out your first stage. Your future self will thank you.